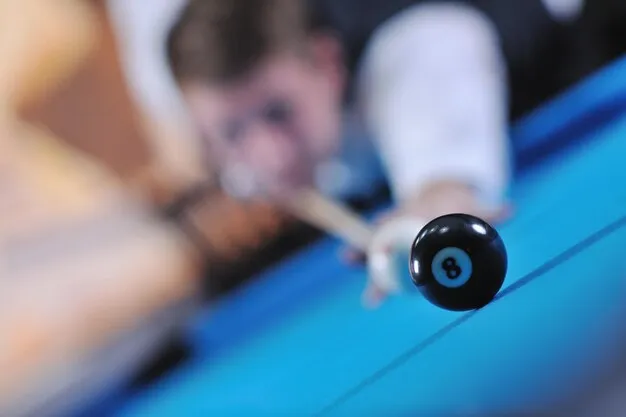
Redefining Accuracy: Achieving Laser-Sharp Precision in Shot Alignment
Understanding the Importance of a Good Tip
When it comes to playing pool, one of the key elements that can significantly impact your game is the condition of your cue’s tip. A good tip is essential for achieving accurate shot alignment and ensuring a precise strike on the cue ball. It acts as the point of contact between the cue and the ball, transmitting the force and spin you apply to the cue throughout the shot.
Imagine trying to write with a dull pencil or a pen without ink; it becomes nearly impossible to create precise lines or legible words. Similarly, a worn-out or poorly maintained cue tip will compromise the accuracy and control of your shots. To maximize your performance on the pool table, it is crucial to understand the significance of a good tip and how it can redefine the accuracy of your shots.
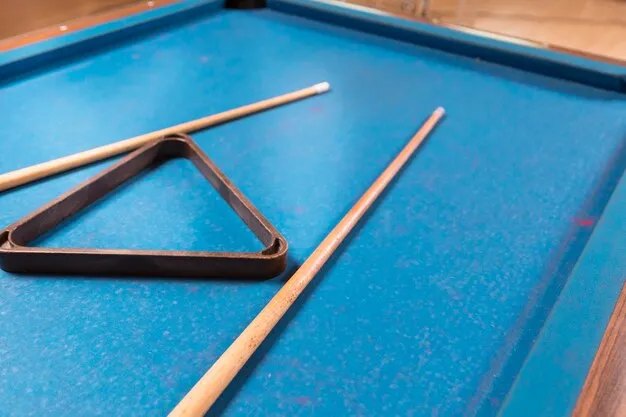
Tools and Materials Needed
Before embarking on the journey of replacing your cue tip, it’s important to ensure that you have all the necessary tools and materials. Here’s a list of items you’ll need:
- Cue tip replacement kit (including different sizes of tips)
- Cue tip clamp
- Sandpaper or tip shaper
- Cue tip adhesive
- Razor blade or knife
- Flat surface or cue lathe
Having these tools at hand will enable you to execute the tip replacement process smoothly and efficiently, helping you achieve the desired precision in your shots.
Removing the Old Tip
To begin the cue tip replacement process, the first step is to remove the old, worn-out tip from your cue. This can be done by following these simple steps:
- Secure the cue firmly using a cue tip clamp. This will prevent the cue from slipping or rotating during the removal process.
- Carefully use a razor blade or knife to slice through the old tip, creating a clean line where the old tip meets the ferrule.
- Gently peel away the old tip, ensuring that any remnants are completely removed from the ferrule.
Removing the old tip may require a bit of patience and finesse, especially if the adhesive used to attach it is strong. Take your time and be meticulous during this step to avoid any damage to your cue or ferrule.
Installing the New Tip
Now that you have successfully removed the old tip, it’s time to install a new one. Follow these steps to ensure a proper installation:
- Select a cue tip of the appropriate size from your replacement kit. It should fit snugly over the cue’s ferrule without any gaps or overhang.
- Apply a thin layer of cue tip adhesive to both the cue’s ferrule and the interior of the new tip.
- Carefully align the new tip with the cue’s ferrule and press it firmly onto the surface, making sure it adheres evenly.
It’s important to note that different cue tips may require different adhesive drying times. Refer to the instructions provided with your cue tip adhesive to determine the optimal drying time before proceeding to the next step.
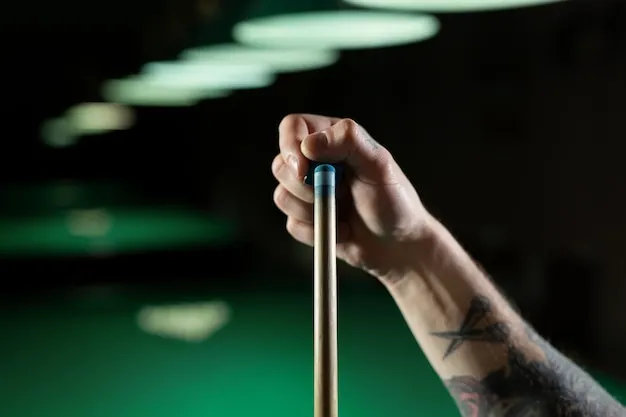
Shaping and Scuffing the New Tip
Once the adhesive has completely dried, it’s time to shape and scuff the new tip, ensuring optimal contact and grip with the cue ball. Here’s how you can do it:
- Use sandpaper or a tip shaper to shape the new tip to your desired curvature. This step allows you to customize the tip’s shape based on your playing preferences.
- Gently scuff the surface of the tip using sandpaper, a tip scuffer, or even a dime. This scuffing process enhances the tip’s ability to hold chalk, preventing miscues and enhancing ball control.
By shaping and scuffing the new tip, you are refining its surface to maximize its interaction with the cue ball, ultimately improving your shot accuracy and consistency on the table.
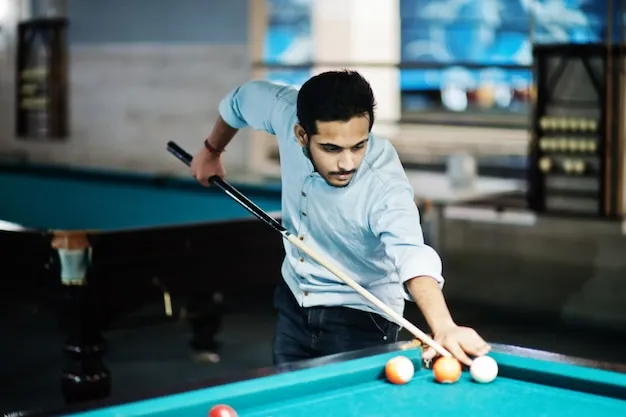
Testing and Adjusting the Cue
With your newly replaced and perfectly shaped cue tip, it’s time to put it to the test. Here’s how you can ensure that your cue is aligned and adjusted for optimal performance:
- Practice a series of shots across different parts of the table, paying close attention to the accuracy and consistency of your shots.
- Evaluate the results and make any necessary adjustments to your cue, such as adjusting the tip’s curvature or experimenting with different amounts of chalk.
- Repeat the testing and adjustment process until you achieve the desired level of accuracy and precision in your shots.
Keep in mind that the testing and adjustment phase is subjective and unique to each player. Take your time to understand and optimize your cue for your playing style, ensuring that every shot you make is met with the highest level of accuracy.
Conclusion: Enjoying Your Newly Replaced Pool Cue
Congratulations! You’ve successfully replaced your cue tip and optimized your cue for laser-sharp precision in shot alignment. By understanding the importance of a good tip, acquiring the necessary tools and materials, and carefully executing each step of the replacement process, you’ve elevated your pool game to new heights.
Remember, achieving accuracy and precision in your shots is an ongoing process. Regular tip maintenance, practicing proper cue handling, and continuous improvement are key factors in refining your skills on the pool table. Embrace the journey, enjoy the game, and let your newly replaced pool cue become an extension of your precision and style. Now, go out there and sink those shots with confidence!